Package bees are produced in the southern states and California for shipping to northern beekeepers who wish to strengthen weak colonies or establish new colonies in the spring. Packages are available in 2-, 3- , or 5-pound sizes (Figure 12). The most popular packages are the 2- and 3-pound sizes. Each pound represents about 3,500 bees. A newly mated queen is included in those packages to be used for developing new colonies. Packages intended for strengthening weak colonies may be ordered with or without a queen.
You should order packages in January or February to ensure timely delivery in early spring (April). If you are installing packages on drawn combs containing honey and pollen, you can do so in early April; if you are installing them on comb foundation, then you should order them to arrive in late April or early May. Beekeepers in northern areas may wish to delay shipments for a couple of weeks. Package bees could die if installed on foundation in temperatures below 57°F (14°C) because too few bees will be able to break cluster and move to syrup feeders. Bees clustered on combs of honey, on the other hand, do not have to break cluster in order to eat.
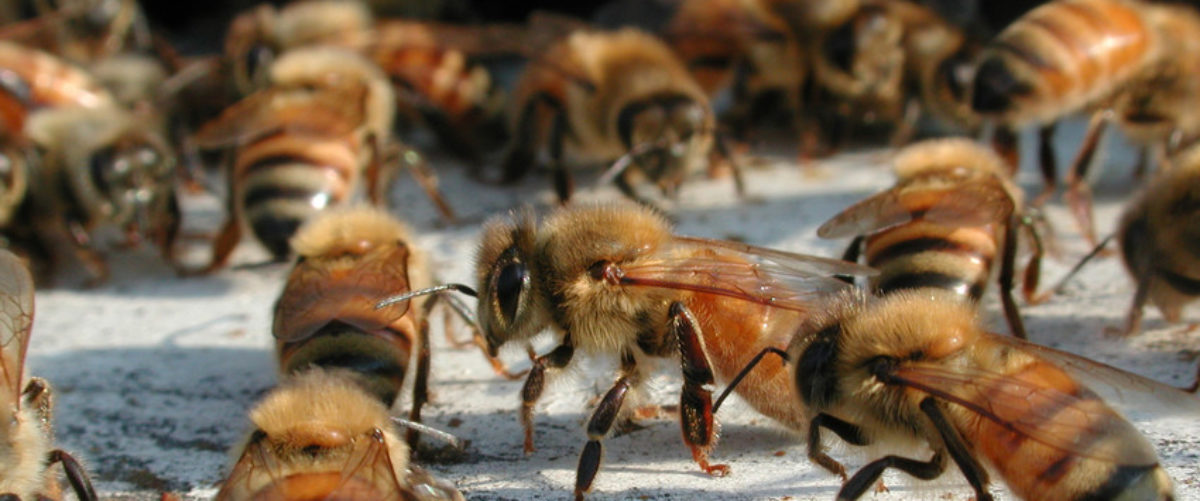
Standard wooden shipping cages measure about 6 x 10 x 16 inches with wire screen on the long sides for ventilation. A can containing a food supply of 50 percent sugar syrup is positioned in the middle of the cage. A few small holes in the bottom of the can allow the bees to withdraw the syrup. A young mated queen is housed in a separate cage that is suspended at the top of the package next to the feeder can. Two or three worker bees (attendants) commonly are caged with the queen to care for her. Queen cages usually are supplied with a food source of sugar candy. A mite treatment strip may also be suspended from the top of the cage or stapled to the back of the queen cage. Packages are braced about a foot apart to protect them from crowding and overheating during shipment.
You can obtain packages from a local beekeeper or supply dealer who has purchased them in bulk from a reputable package producer, or you can order them directly from the producer and have them shipped by U.S. mail. You should alert officials at the post office about the expected date of arrival and should request immediate notification.
Upon arrival, you should inspect package bees for unusual numbers of dead bees. Some bee mortality is normal, but when dead bees accumulate more than an½ inch in the bottom of the shipping cage or when queens are dead on arrival, you should file a damage claim with the postal clerk immediately, noting their condition. You should then send this statement to the shipper so that losses may be replaced.
Package bees are perishable, so handle them with care. Before installing, protect them from wind and cold but do not put them in a heated area. If packages arrive when the temperature is below 45°F (18°C) and are to be transported in an open truck, cover them with burlap or paper while in transit. If transported in a closed truck or car, no extra protection is needed.
You should try to install packages as soon as possible after their arrival, although you can delay installation for up to 48 hours with little difficulty. Feed the bees as soon as you get them and continue feeding until they are installed. Spray or sprinkle the cage screen with 50 percent sugar syrup, preferably in a room where the temperature is around 70°F (21°C). Avoid brushing the syrup onto the screen, as this may injure the bees’ mouthparts. After feeding the bees, store them in a cool, dry, and preferably dark place, such as a basement, porch, or garage. Storage temperature should be between 50° (10°C) and 60°F (15°C). The bees will recluster around their queen and become quiet. Package bees soon die if they are stored where the temperature is above 80°F (26°C) or if they are left standing in the sun.
Before the packages arrive, the hives to be used should be assembled, in place, and ready to receive them. Ideally, package bees should be installed in late afternoon or early evening, when there is little opportunity for flight. On cool days, package bees may be put into hives at any time. If the bees are well fed, they are much easier to install.
Start your installation by opening the empty hive and removing six consecutive combs. Insert the entrance reducer to provide the smallest hive opening. Then close the entrance completely by placing some green grass in the small opening (Figure 13). This will keep the bees in the hive until they settle down. The temporary grass entrance plug can be removed after installation is completed.
Now with your hive ready to receive the package bees, remove the square piece of wood that covers the top and next remove the feeder can. The queen cage attached near the feeder can should be removed and checked to make sure the queen is alive. Remove the cork or any other covering from the candy end of the queen cage and make a small hole through the candy using either a nail or toothpick-sized twig (Figure 14). Take care that you do not injure the queen. The hole should be small enough to prevent the bees from coming out immediately, but large enough so the bees can release their queen in 24 to 48 hours.
There are several different ways to install or transfer the bees from the mailing cage to the hive. One method is to place the mailing cage in the open space left after removing the six frames, allowing the bees to exit by themselves. The first step in this type of installation is to wedge the queen cage between the top bars of the two combs (Figure 15) next to the mailing cage. Place the queen cage with the candy end up, so dead worker bees within the cage do not block the exit hole. Bees should have maximum access to the screen face of the queen’s cage so that they can feed her and receive her chemical pheromones. Shake about a handful or two of bees around the queen cage to expedite movement of the bees from the package to the combs. During cool weather, shake more bees on the queen cage to prevent the queen from becoming chilled. Return to the hive in 4 or 5 days to remove the empty mailing and queen cages and replace the frames.
A better way to install packages is by shaking the package. Prepare the hive as described previously. Just before opening the package, sprinkle both sides of the screened shipping cage with sugar syrup so the bees’ wings become wet (Knock the bees to the bottom of the cage by jarring a corner of the package against the ground or hive. As you remove the feeder can, sprinkle the bees through the top opening (Do not overdo the sprinkling in cool weather. Remove the queen cage, inspect the queen, and place the cage aside but not in direct sunlight. Gently shake the bees out of the package into the open space left by the removal of the six frames (Figure 16). While the bees will fall out fairly readily, you still should jar the package against the ground two or three times, collecting any remaining bees in one corner of the package before reshaking remaining bees into the hive. If the bees’ wings are damp with syrup, there will be little flying. Leave the mailing cage beside the entrance, touching the bottom board overnight so any remaining bees can escape. With the hive tool, gently level the pile of bees on the bottom board. You can position the queen cage, with cork removed from the candy end, between two frames as previously described. An alternative is to directly release the queen. To direct release a queen, first sprinkle a little syrup on the queen through the queen cage screen. Next, lower the queen cage into the hive close to one of the exposed combs. Remove the screen with your hive tool and let the queen crawl onto the comb or among the bees. Carefully replace the previously removed combs to avoid injuring the bees and the queen. Replace the inner and outer covers.